Why Most Small Businesses Get Lead Scoring Wrong From Day One
Most small business owners set up a CRM, import their contacts, and then treat every lead exactly the same — blasting identical follow-up sequences to cold prospects and red-hot buyers alike. The result is predictable: burned-out sales reps, ignored emails, and a pipeline that looks full but converts at a painfully low rate. Lead scoring fixes this by giving every contact a numeric value based on how likely they are to buy, so your team knows exactly who to call first and who can wait. Learn more about lead scoring point system.
When I helped implement a structured lead scoring model at a B2B services firm with fewer than 20 employees, we cut average follow-up response time from 48 hours down to under 2 hours — simply because reps finally knew which leads were worth dropping everything for. That single operational change compounded into a measurable pipeline velocity improvement within the first quarter. The methodology wasn’t complicated; it was consistent and deliberate. Learn more about micro-survey lead qualification funnel.
According to research published by Marketo and corroborated by HubSpot’s sales benchmarking data, companies that use lead scoring see 30–40% shorter sales cycles compared to teams that rely on gut instinct alone. For small businesses where every sales hour counts, that compression isn’t a nice-to-have — it’s the difference between hitting quota and missing it. This 11-step framework will show you exactly how to build that system inside your existing CRM, regardless of whether you’re using HubSpot, Pipedrive, Zoho, or any other platform. Learn more about sales-marketing handoff automation.
Steps 1–3: Build the Scoring Foundation Before You Touch Your CRM
The most common mistake is opening your CRM settings and starting to assign point values before you’ve defined what a great lead actually looks like. You need a documented Ideal Customer Profile before a single score gets assigned — and if you haven’t built yours yet, start with our ICP template guide before continuing here. Your ICP becomes the scoring rubric: every attribute that matches your best customers earns positive points, and every mismatch subtracts them.
Step 1 — Define your Ideal Customer Profile attributes. Pull your last 20 closed-won deals and identify the three to five firmographic or demographic traits they share. For B2B, this typically includes company size, industry vertical, annual revenue range, and geographic location. For B2C, it’s demographic signals like age range, household income, and purchase history. Document these in a simple spreadsheet — you’ll reference this list in every step that follows. Learn more about lead response time on close rates.
Step 2 — Separate demographic scoring from behavioral scoring. Demographic fit tells you whether a lead should buy; behavioral data tells you whether they want to buy right now. Both matter, but they need separate point buckets to avoid conflating a perfectly profiled lead who’s gone cold with a mediocre-fit lead who’s actively engaging. Allocate roughly 50% of your total possible score to demographic fit and 50% to behavioral signals — this balance keeps your model grounded without ignoring intent. Learn more about marketing automation tagging strategy.
Step 3 — Set your scoring scale and threshold tiers. Use a 0–100 scale for simplicity. Define three tiers: cold (0–39), warm (40–69), and hot (70–100). These thresholds trigger different workflows — cold leads enter nurture sequences, warm leads get scheduled outreach within 48 hours, and hot leads receive same-day personal contact. Getting this architecture right before you assign a single point value prevents the constant recalibration that kills most small business scoring projects in their first month.
Steps 4–7: Assign Point Values to the Right Signals
Now comes the part where you translate your ICP and behavioral observations into actual numbers. The goal is a point system that mirrors real-world buying intent — not one that rewards vanity metrics like social media follows or white paper downloads that have no historical correlation with your actual closed deals. Every point value you assign should be defensible by looking at your closed-won data.
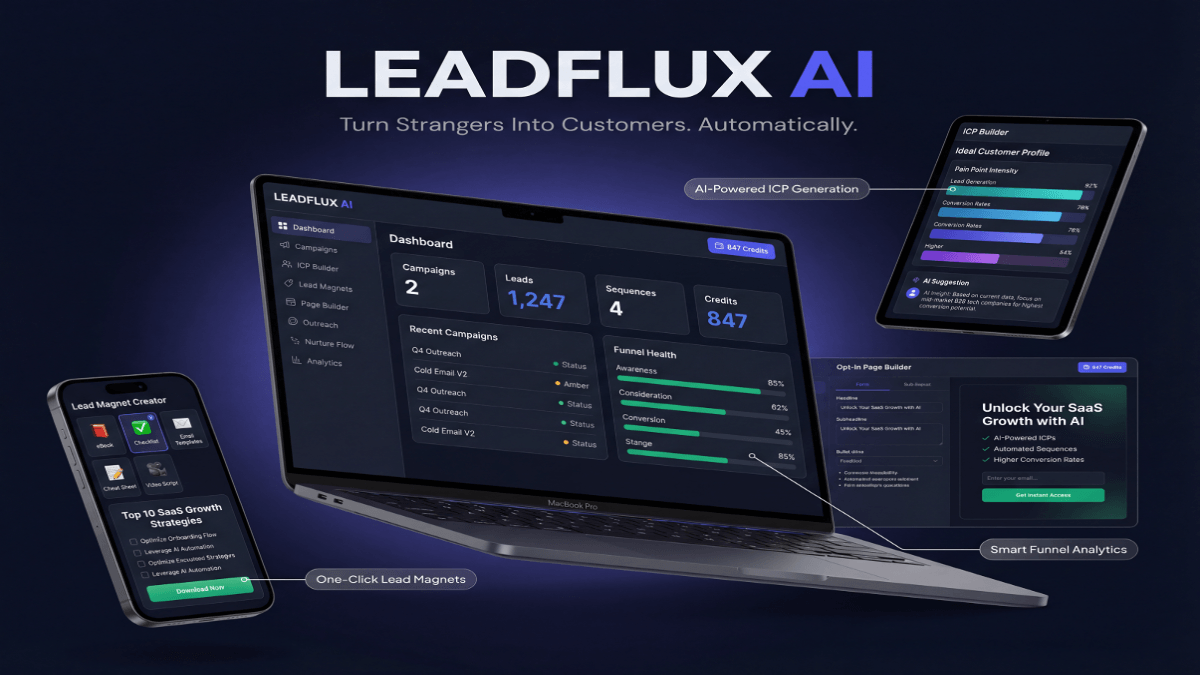
Stop Guessing. Start Converting.
LeadFlux AI Does the Heavy Lifting.
Tracking KPIs is only half the battle — you need a system that turns data into revenue. LeadFlux AI automatically identifies your highest-value prospects, scores leads in real time, and delivers conversion-ready pipelines so you can focus on closing deals, not chasing dead ends.
See How LeadFlux AI WorksStep 4 — Score demographic and firmographic fit. Award points for each ICP-matching attribute: for example, +15 for matching industry, +10 for company size in range, +10 for geographic territory, and +15 for job title matching your typical buyer persona. Subtract points for clear mismatches: -10 for wrong industry, -20 for company size well outside your service capacity. These values are starting estimates — you’ll calibrate them in Step 10 using real conversion data.
Step 5 — Score high-intent behavioral signals. Behavioral scoring is where you capture buying urgency. Pricing page visits are worth +20 points because they indicate bottom-of-funnel interest. Demo requests or contact form submissions earn +25. Repeated visits to the same product page within a 7-day window earn +15. Email clicks on sales-focused content (case studies, ROI calculators) earn +10. These numbers should reflect what you’ve observed in your own sales process — not industry averages copied from a template.
Step 6 — Score low-intent and negative signals. Leads who unsubscribe from emails should lose 30 points immediately. Leads who haven’t engaged with any content in 60 days should automatically decay by 5 points per week. A lead using a free Gmail address at a company that requires a business domain should lose 10 points. These negative scores prevent your pipeline from becoming cluttered with leads that look active on paper but are effectively dead in practice.
Step 7 — Map scores to automation triggers inside your CRM. Once your scoring rules are documented, translate them into your CRM’s workflow engine. In HubSpot, this means creating property-based workflows that fire when a contact crosses a score threshold. In Zoho or Pipedrive, you’ll use scoring modules or third-party integrations. The trigger that matters most: when a lead hits 70+, an automatic task should be created for a sales rep with a due date of same business day. If you need guidance choosing the right CRM to support this architecture, see our CRM selection guide for small businesses.
Steps 8–11: Operationalize, Test, and Improve Your Scoring Model
A lead scoring model that lives in a document and never gets tested is just a theory. The operational steps are where small businesses either lock in the 30–40% cycle compression or watch the whole system quietly fall apart within six weeks. Execution discipline matters as much as the methodology itself, and the following four steps create the feedback loops that keep your model accurate over time.
Step 8 — Train your sales team on score-based prioritization. Your reps need to understand not just what the scores mean, but why they trust the model over their own instincts — at least initially. Run a 30-minute training session that walks through three to five real examples: a high-scorer who converted, a low-scorer who didn’t, and at least one edge case. This builds credibility in the system and reduces the temptation to ignore scores in favor of gut feel. Make score visibility a mandatory part of every lead review meeting in the first 90 days.
Step 9 — Set a 30-day review cadence for the first quarter. In the first 90 days, your model will surface calibration problems — point values that are too generous, behavioral signals that don’t actually predict conversion, thresholds that put too many leads in the “hot” category for your team to realistically work. Schedule a monthly 45-minute review where you compare scores at the time of lead entry against eventual deal outcomes. This is the single most important habit that separates teams who get lasting results from those who abandon their scoring model within a quarter.
Step 10 — Recalibrate point values using closed-deal data. After 60–90 days, you should have enough closed-won and closed-lost data to validate or adjust your initial point assignments. Run a simple analysis: what was the average score of leads who converted versus those who didn’t? If your closed-won leads averaged 65 and your threshold is 70, lower the hot-lead threshold to 60. If pricing page visits aren’t correlating with conversion, reduce their point value and reallocate those points to a signal that is correlating. This iterative approach is how enterprise-grade scoring models are built — not in a single afternoon, but through disciplined data review.
Step 11 — Integrate scoring with your content and nurture strategy. Your warm leads (40–69) shouldn’t just sit in a holding pattern — they should be receiving content calibrated to advance them toward the 70-point threshold. Map specific content assets to the behavioral gaps that would increase a warm lead’s score: if a lead is missing points because they haven’t visited the pricing page, send a case study that naturally links to pricing. If they haven’t engaged with product-specific content, trigger a segmented email sequence focused on their vertical. Lead scoring works best when it’s a closed loop between marketing automation and sales action, not a one-way grading system. Build your full nurture content map with our email nurture sequence guide to close that loop completely.
The Lead Scoring Point Value Reference Framework
To make implementation as fast as possible, use the reference table below as your starting baseline. These values are drawn from common conversion patterns across small B2B service businesses and should be treated as calibration starting points — not fixed rules. Adjust each value based on your own closed-deal analysis after the first 60 days of running the model.
I’ve been testing LeadFlux AI for automated prospecting over the past few weeks, and it’s genuinely streamlined how my team identifies and qualifies prospects without the usual manual data entry headaches.
| Signal Type | Specific Signal | Suggested Points | Direction |
|---|---|---|---|
| Demographic | Matching industry vertical | +15 | Positive |
| Demographic | Company size in ICP range | +10 | Positive |
| Demographic | Job title matches buyer persona | +15 | Positive |
| Demographic | Outside target geography | -10 | Negative |
| Behavioral | Pricing page visit | +20 | Positive |
| Behavioral | Demo or contact form submission | +25 | Positive |
| Behavioral | Case study or ROI content click | +10 | Positive |
| Behavioral | Repeated product page visits (7 days) | +15 | Positive |
| Behavioral | Email unsubscribe | -30 | Negative |
| Behavioral | No engagement for 60+ days | -5/week | Decay |
| Firmographic | Free email domain (consumer address) | -10 | Negative |
| Firmographic | Revenue range matches ICP | +10 | Positive |
Notice that no single signal can push a lead into the hot tier on its own — that’s intentional. A lead who submits a demo request but has zero demographic fit should land in the warm tier at best, prompting a qualifying call rather than a full sales push. The multi-signal requirement is what prevents your team from wasting time on high-intent but low-fit leads, which are notoriously easy to confuse with genuine opportunities.
Putting It All Together: What a Working Lead Scoring System Actually Looks Like
A functioning lead scoring setup doesn’t require a dedicated marketing operations hire or an enterprise CRM budget. What it requires is about four to six hours of upfront setup, a documented scoring rubric that your whole team has reviewed, and a monthly review habit that takes less time than your average sales meeting. Small businesses that commit to all three consistently outperform competitors who rely on volume and instinct alone.
The 11 steps in this framework are sequenced deliberately: foundation first, point assignment second, operationalization third. Skipping to Step 5 because you’re eager to start scoring leads is the fastest way to build a model that feels active but produces no real change in sales velocity. The businesses that see 30–40% faster cycle times are the ones that did the unglamorous ICP work in Steps 1–3 before they assigned a single point value.
Start this week by pulling your last 20 closed-won deals and documenting the three firmographic traits they share — that single exercise, completed in under an hour, gives you the raw material for every scoring decision that follows. From there, build your scale, set your thresholds, configure your CRM triggers, and schedule your first 30-day review before you even launch the model. That scheduling commitment alone dramatically increases the likelihood that your scoring system survives long enough to produce the results that make it worth building.